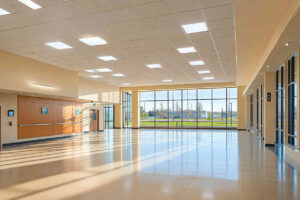
Experiencing dark spots at your property can be unsettling and hazardous, but installing LED bulkhead lights offers a durable and efficient solution to enhance safety and visibility.
Installing an LED bulkhead light involves a series of steps, starting with gathering the necessary tools and ensuring safety by turning off the power supply. The installation location should be carefully selected to provide optimal lighting and support the fixture’s weight. After marking and drilling mounting holes, the light’s wiring is connected, and the fixture is secured. Finally, after restoring power, the light is tested to ensure it functions correctly. It’s advisable to consult a professional for complex setups or compliance with electrical regulations.
Let’s dive deeper into how you can install these lights smoothly and effectively.
Table of Contents
How to Install an LED Bulkhead Light?
Installing an LED bulkhead light is a straightforward process, but it requires proper planning and safety precautions. Below is a step-by-step guide to help ensure a smooth installation:
1. Prepare the Tools and Materials
Before starting, gather the necessary tools and materials. You’ll typically need the following:
– Screwdriver
– Drill (if mounting on a hard surface)
– Screws and wall plugs (usually provided with the light)
– Electrical tester
– Wire strippers
– Safety gloves
2. Ensure Safety First
- Turn off the power supply at the main circuit breaker to avoid electrical accidents.
- Use an electrical tester to confirm that no current is flowing to the installation area.
3. Select the Installation Location
- Choose a location that provides optimal lighting for the space.
- Ensure the mounting surface is sturdy and can support the weight of the light.
- For outdoor installations, ensure the area is weather-protected or suitable for the light’s IP rating.
4. Mark and Drill Mounting Holes
- Position the bulkhead light on the wall or ceiling.
- Use a pencil to mark the mounting holes.
- Drill the holes using an appropriately sized drill bit and insert the wall plugs.
5. Connect the Wires
- Open the light’s casing to access the wiring compartment.
- Connect the live (L), neutral (N), and earth (E) wires from the power supply to the corresponding terminals on the light.
- Use wire strippers to prepare the wires and ensure a secure connection.
- Double-check the wiring to ensure all connections are tight and correct.
6. Secure the Light Fixture
- Position the light fixture over the drilled holes and fasten it using the provided screws.
- Ensure the light is firmly mounted and does not wobble.
7. Install the Cover and Test
- Close the casing securely to protect the wiring.
- Restore power at the circuit breaker.
- Turn on the light switch to test the functionality of the bulkhead light.
8. Final Adjustments
- Check for any loose screws or uneven positioning.
- Ensure the light is functioning correctly and provides sufficient illumination.
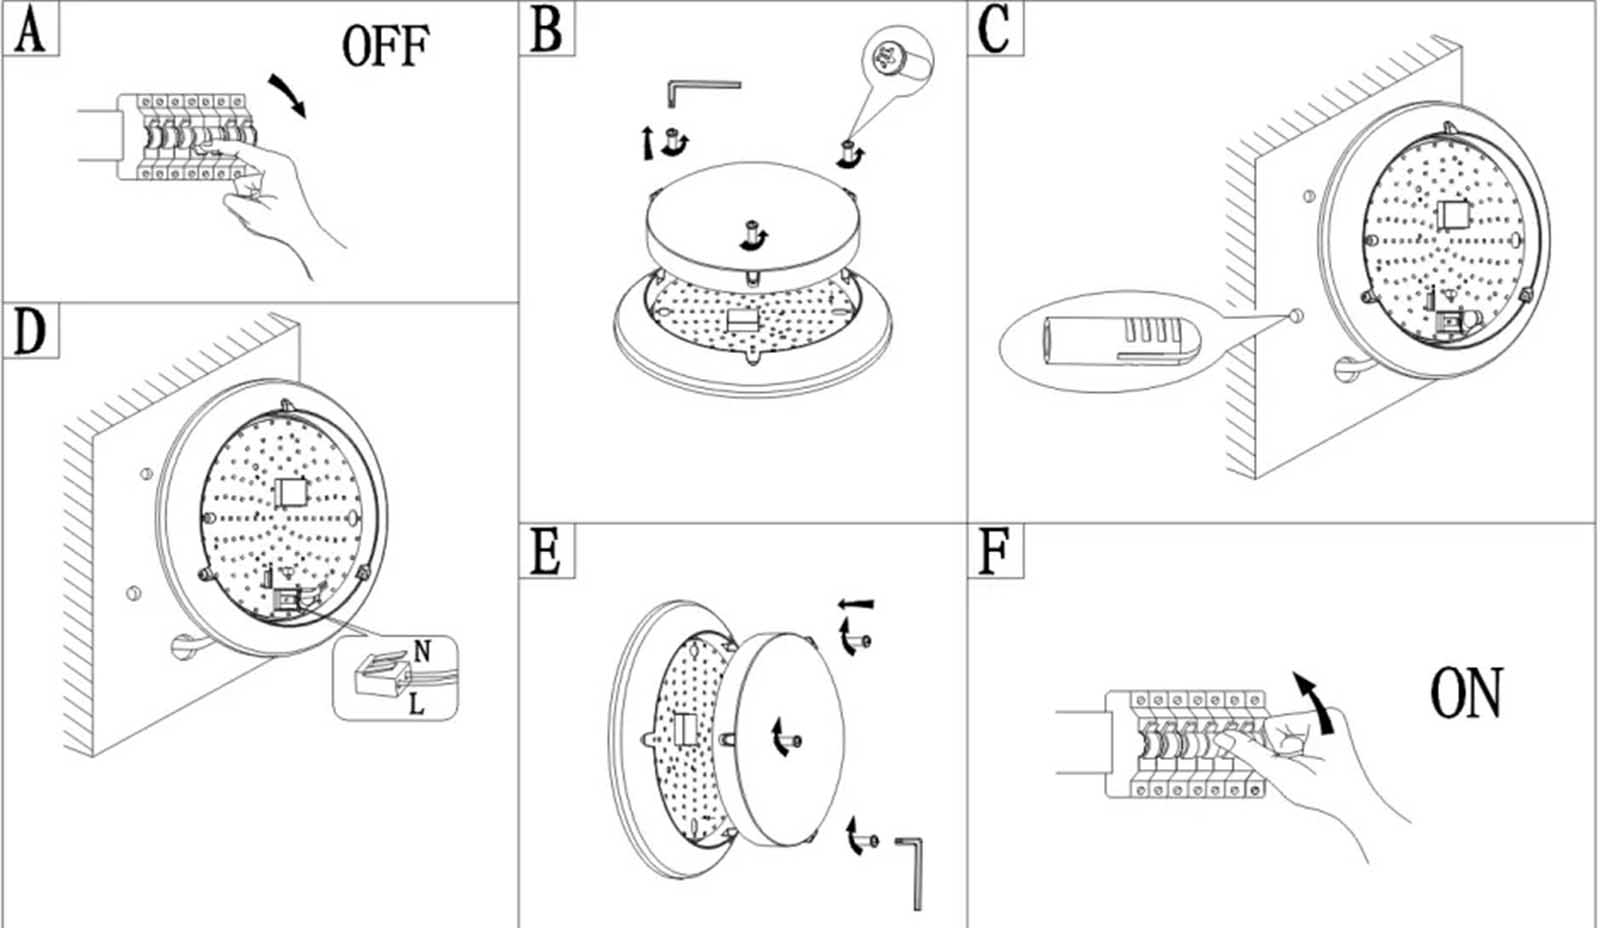
Installations of LED Bulkhead Light
By following these steps, you can safely and effectively install an LED bulkhead light. For complex installations or areas with specific electrical regulations, it’s recommended to consult a professional electrician.
How Do LED Bulkhead Lights Attach to Walls?
LED bulkhead lights are designed for easy installation and can be securely attached to walls using simple tools. Here’s how they are typically mounted:
1. Surface Mounting with Screws
Most LED bulkhead lights are surface-mounted, meaning they are fixed directly to the wall. The process usually involves:
– Marking Mounting Points: The light fixture is held against the wall, and the mounting holes are marked with a pencil.
– Drilling Holes: Holes are drilled at the marked points, and wall plugs are inserted for added stability, especially if the wall is made of concrete or brick.
– Fixing with Screws: The fixture is aligned with the holes and secured using screws provided with the light.
2. Bracket Mounting
Some bulkhead lights come with mounting brackets for easier installation. The steps include:
– Attaching the Bracket to the Wall: The bracket is first screwed into the wall using the same marking and drilling process.
– Securing the Light to the Bracket: The light fixture is then clipped or screwed onto the bracket, ensuring a firm attachment.
3. Using Adhesive or Clips (Optional)
In specific situations, such as lightweight fixtures or temporary installations, industrial-grade adhesive or mounting clips can be used. However, these methods are less common and not recommended for outdoor or heavy-duty applications.
4. Integrated Wiring Compartments
LED bulkhead lights often feature a backplate with integrated wiring compartments. These backplates are screwed onto the wall first, and the light housing is then attached to complete the installation.
By using screws, brackets, or clips, LED bulkhead lights can be securely attached to walls, providing a reliable and long-lasting lighting solution.
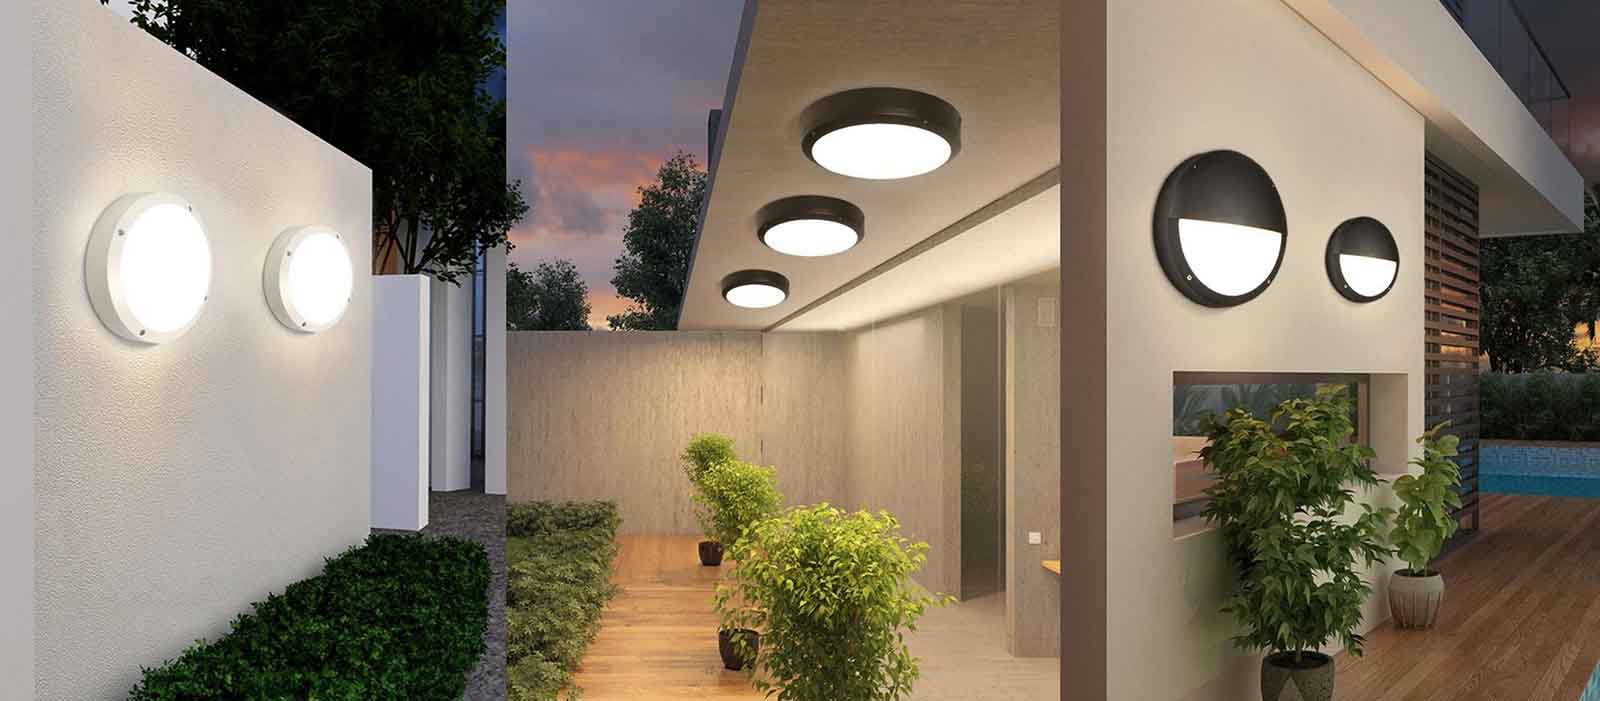
Should I Put LED Bulkhead Lights on the Wall or Ceiling?
LED bulkhead lights are highly versatile and can be installed on both walls and ceilings. The choice depends on the specific needs of your space, the purpose of the lighting, and the layout of the area. Here are some factors to consider:
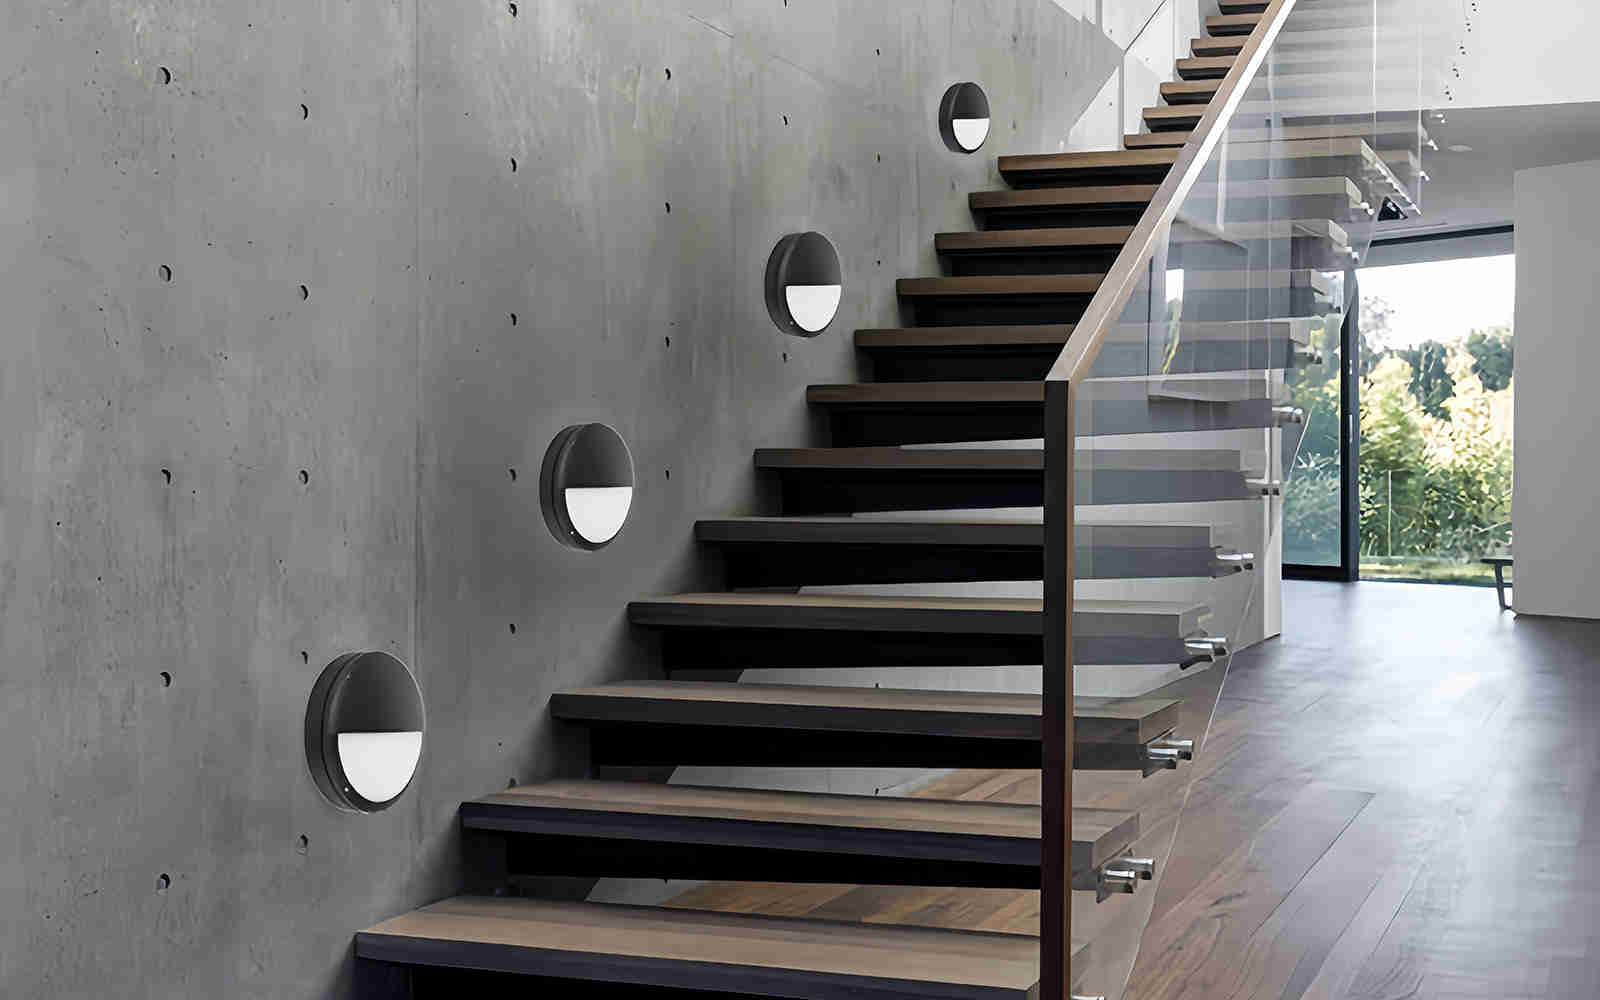
1. Wall Installation
Installing LED bulkhead lights on walls is ideal for:
– Pathway and Corridor Lighting: Wall-mounted lights are great for illuminating walkways, stairwells, or narrow corridors, providing directional lighting at eye level.
– Security Lighting: On walls, they can act as outdoor security lights for entrances, garages, or building perimeters.
– Aesthetic Reasons: Wall installations can add a modern and functional design element to indoor and outdoor spaces.
Key Consideration: Ensure the height of the light is suitable for the area. For example, in hallways, they should be installed high enough to avoid obstruction but low enough to provide adequate illumination.
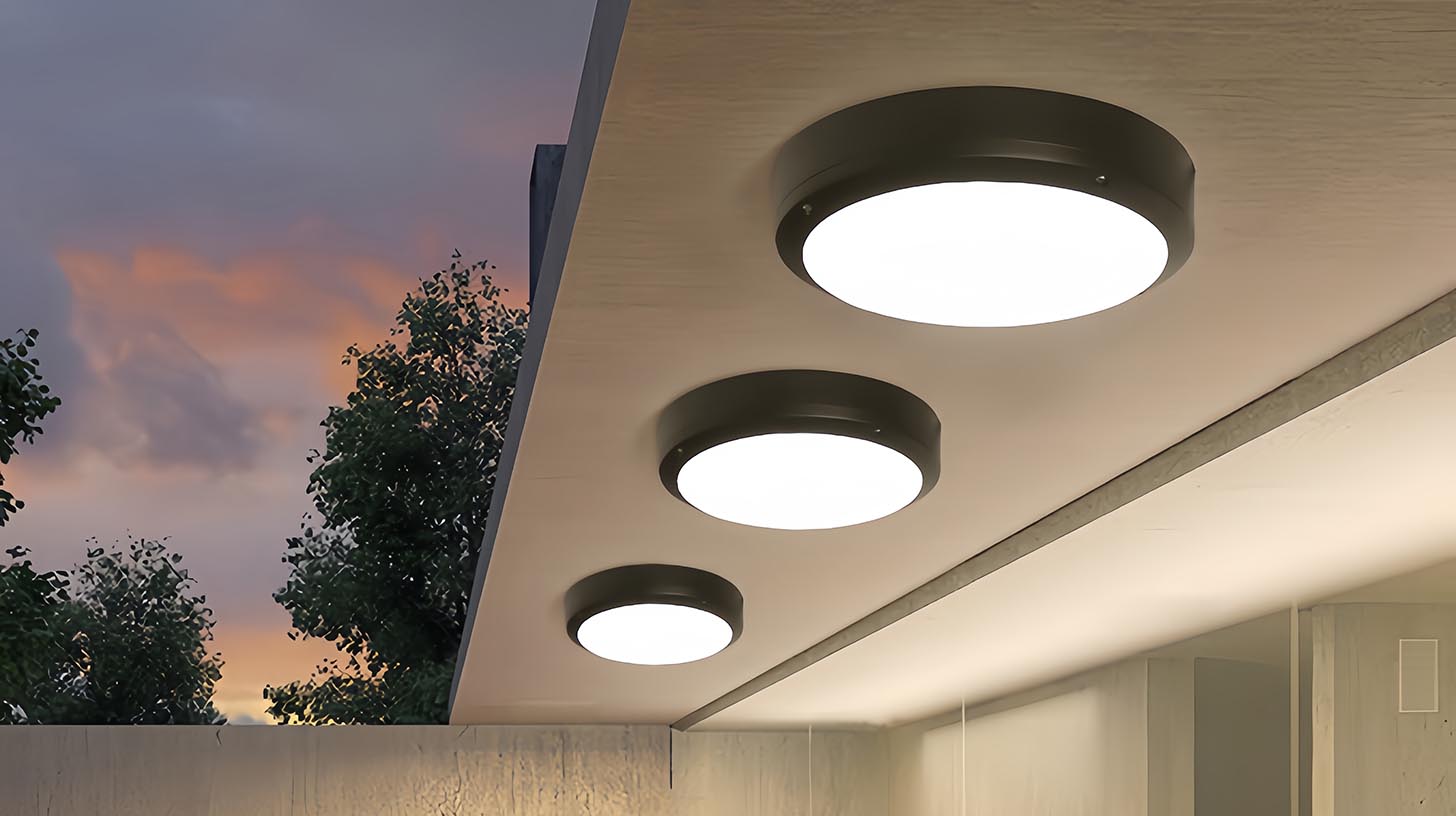
2. Ceiling Installation
Ceiling-mounted bulkhead lights work well for:
– General Area Lighting: Ceilings provide a central position to evenly distribute light across the room.
– Low-Ceiling Spaces: Bulkhead lights have a compact design, making them ideal for rooms with low ceilings, such as basements or utility rooms.
– Outdoor Coverage: On porches, balconies, or under canopies, ceiling-mounted lights provide downward illumination for enhanced visibility and safety.
Key Consideration: Ensure the ceiling is strong enough to support the fixture and that the light provides sufficient coverage for the area.
3. Combining Both Options
In some settings, combining wall and ceiling installations may be the best approach. For example:
– In a parking garage, ceiling lights can illuminate large spaces, while wall lights enhance visibility along pathways.
– In industrial settings, walls and ceilings may both be used to optimize safety and minimize shadowed areas.
The decision to install LED bulkhead lights on the wall or ceiling depends on the specific lighting requirements and the layout of your space. Walls are better for targeted or directional lighting, while ceilings provide broader, more uniform illumination. Both options can be used effectively based on the design and functionality of the space.
How to Wire a Bulkhead Light?
Wiring a bulkhead light is a straightforward process if proper precautions are taken and the steps are followed carefully. Below is a guide to help you wire a bulkhead light safely and efficiently.
1. Gather Necessary Tools and Materials
You’ll need the following:
– Screwdriver
– Wire strippers
– Electrical tester
– Insulation tape
– Safety gloves
– The bulkhead light fixture
– Compatible electrical cables
2. Turn Off the Power
- Switch off the power supply at the main circuit breaker to ensure safety.
- Use an electrical tester to confirm that no current is flowing to the wiring.
3. Open the Bulkhead Light
- Remove the cover or front housing of the bulkhead light using a screwdriver.
- Expose the wiring terminal block inside the fixture.
4. Prepare the Electrical Wires
- Strip approximately 10-15 mm of insulation from the ends of the live (L), neutral (N), and earth (E) wires using wire strippers.
- Ensure the exposed wires are clean and not frayed.
5. Connect the Wires
- Locate the terminal block inside the bulkhead light, which will have clearly labeled connectors for L, N, and E.
- Connect the live (brown or red) wire to the terminal marked L.
- Connect the neutral (blue or black) wire to the terminal marked N.
- Connect the earth (green/yellow) wire to the terminal marked E.
- Tighten the screws on each terminal to ensure a secure connection.
6. Check the Connections
- Double-check that each wire is securely fastened in the correct terminal and that there are no loose strands.
- Ensure no bare wires are exposed outside the terminal block.
7. Secure the Fixture
- After wiring, carefully tuck the wires into the housing to avoid pinching or crimping.
- Reattach the cover or front housing of the bulkhead light securely.
8. Test the Light
- Turn the power back on at the main circuit breaker.
- Switch on the bulkhead light to test its functionality.
9. Final Safety Checks
- Ensure the light is operating as expected.
- Confirm that the fixture is securely mounted and that all screws are tight.
Important Notes
- If you are unsure about handling electrical wiring, consult a licensed electrician.
- Always comply with local electrical codes and safety regulations to avoid hazards.
By following these steps, you can wire a bulkhead light safely and effectively for long-lasting performance.
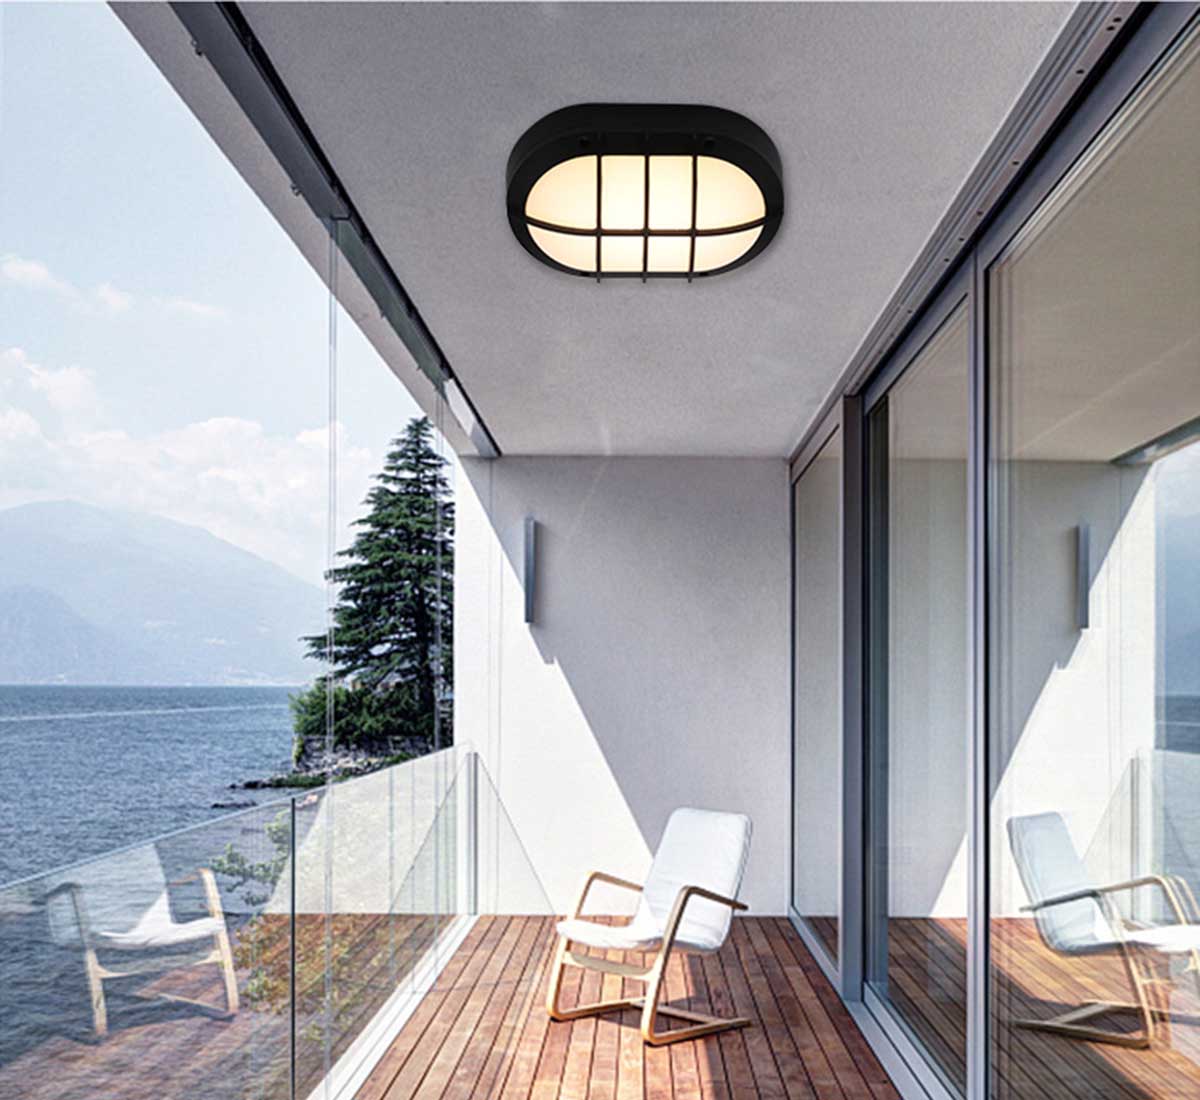
What Is the Purpose of a Bulkhead Light?
Bulkhead lights are versatile and durable lighting fixtures designed to provide reliable illumination in tough environments. They are commonly used in both indoor and outdoor settings where high resistance to harsh conditions is essential. Below are the main purposes of bulkhead lights:
1. Ensuring Safety and Visibility
Bulkhead lights are primarily used to enhance safety by improving visibility. They are often installed in stairwells, corridors, parking garages, and entryways where adequate lighting helps prevent accidents and promotes security. Their bright and uniform light output ensures that pathways and workspaces are well-lit at all times.
2. Withstanding Harsh Conditions
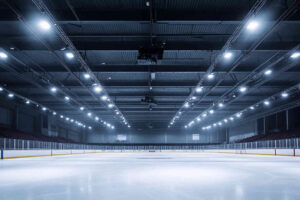
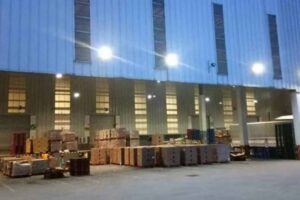
These lights are specifically designed to resist water, dust, and impact. Their robust construction, often with an IP65 or higher rating, makes them ideal for challenging environments such as industrial facilities, warehouses, and outdoor spaces exposed to extreme weather.
3. Providing Energy-Efficient Illumination
Modern LED bulkhead lights offer energy-efficient lighting solutions for long-term use. They consume significantly less power compared to traditional fixtures while delivering superior brightness and longevity, making them a cost-effective option for businesses and property owners.
4. Aesthetic and Functional Design
Bulkhead lights often feature a compact and sleek design that blends seamlessly into a variety of spaces. Their practical and low-profile appearance ensures that they provide necessary lighting without being obtrusive. Additionally, they are often chosen for spaces requiring a balance of functionality and aesthetics.
Bulkhead lights are an excellent choice for those seeking reliable, energy-efficient, and durable lighting solutions for demanding environments. Their versatility makes them suitable for a wide range of applications, from residential settings to industrial and commercial spaces.
How to Remove Bulkhead Light Cover Without Screws?
To remove a bulkhead light cover without screws, you generally need to find the locking mechanism used on the cover. Most covers either twist off or have hidden latches that can be released using a flathead screwdriver. Apply gentle pressure in the correct direction or use the screwdriver to pop open the latch. Always be gentle to avoid damaging the light cover.
Bulkhead Light Bulb Replacement
Replacing the bulb in a bulkhead light fixture is typically simple. Once you have removed the cover (as described above), locate the old bulb and unscrew it by turning it counterclockwise. Insert the new bulb by screwing it clockwise until it is secure. Ensure the bulb type matches the specifications for your bulkhead light to maintain optimal performance.
Conclusion
Installing an LED bulkhead light is not just about adding a fixture; it’s about enhancing the safety and functionality of your space. With the right tools and a little patience, you can easily install and maintain these durable lights, ensuring they illuminate your space effectively for years to come.
If you need help with LED bulkhead lights or have questions, please feel free to reach out to us directly. Our team of lighting experts is here to help.